In the previous post here, I discussed how this can be achieved with a single RAW image too but today we will be sticking to the more traditional method.
Open up Adobe Photoshop, I will be using cs6 version for my tutorial.
The below images were taken in RAW mode with my canon 5d mark ii, bracketed by two stops and shot in Manual mode, I also used a tripod to stop ghosting (see below)
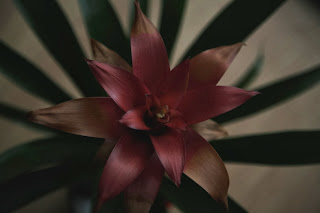 |
| EV -2 |
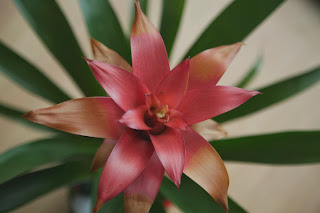 |
| EV 0 |
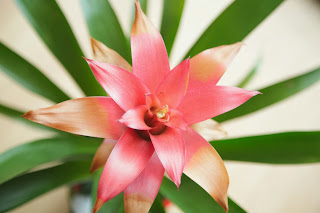 |
| EV +2 |
Step one:
Open Adobe Photoshop version CS6.Click on file -> Automate -> Merge to HDR Pro
See the following screenshot if you unable to find these menus.

Step Two:
A new window will open from where you can select files to merge.
Its recommended to take 5-7 picture with different exposure to get fine results, but here I am taking just 3 pictures for the sake of tutorial.
Now select the images, you also remove the images after selecting, see the following screenshot to understand this situation.
Also check the ” Attempt to automatically align source images”.
Step Three:
Your images will now be merged into a single photo. You can turn off individual photos by un checking their boxes on the left filmstrip. If you get some blurring caused by camera shake in the longest exposure, you may want to turn off that photo. If there is ghosting because of movement, click the box: Remove Ghosts.

The merged result is a floating-point 32 bit image. Change the mode to 32 bit. You can view the available tones by sliding the White Point slider on the right of the screen under the histogram.This slider doesn't change the image, it is there for you to examine the range of tones, because a monitor isnt capable of displaying all the tonal detail in a 32-bit file all at once.
Step Four:
In order to use the photos, you'll need to convert them to 16 or 8 bit images. While we have this huge dynamic range available in 32 bit, we will no longer have those options after conversion. Always work from the saved 32 bit version, and then convert and save versions (personal interpretations). Avoid overwriting the 32 bit image, it's our master and we may want to go back to it many times.

 Choose Image>Mode>16 bit (or 8 bit). Now we get to play with some fun options. You're now at the tone mapping part of the process. This is were you get to play!
(If you want to make the adjustments without converting, choose view>32 Bit Preview Options. You can use several of Photoshop's tools in the Image>Adjustments menu. The most important of these is the Exposure control)
You'll see an HDR Toning Dialog box. The majority of the time I set my preset to Photorealistic then selecting Local Adaption in the drop down Method tab I can then make some more minor adjustments to the image:
 |
| Take a look at my adjustments to the right of the image |
Edge Glow
Once your happy with the curve, adjust the radius and strength sliders to make sure there are no halos in the photo. (Badly converted HDR images have a glow around the areas of contrast.) The radius controls the mask blur while the strength decides how strong to apply the effect. I normally tick the Smooth Edges box too to sharpen the edges up.
Tone and Detail
Gamma: This is where you control the contrast. Extremes are washed out or super punchy.
Exposure: Controls the overall brightness.
Detail:This sharpens or softens the appearance.
Advanced
Shadow: Opens up details in darkest parts of the photograph.
Highlight: Recovers detail in the brightest areas of the photograph.
Vibrance: This makes the photo more colorful without over saturating areas that are already colorful.
Saturation: Increases or decreases the overall amount of color.
Click ok to convert.
There you have it, the final result:

There are lots of methods to achieve HDR styled imagery, below is another example
HDR and Lightroom and Camera RAW
In order to work with a 32 bit file in Lighroom, you must do the following.
1. Merge to HDR as mentioned earlier in this tutorial.
2. Save as 32 bit file, be careful to save as a TIF, it will only work with a Tiff.
3. Import back into Lightroom, or open in Adobe Camera Raw.
4. Use the adjustments as you would normally, but you will notice a lot more control and larger range of tones than before.
No comments:
Post a Comment